- Tour of Ouvvi
- Installing Ouvvi
- Deploy a New Tenant
- Create a Connection Library
- Using the Connection Library
- Edit the Connection Library
- Groups
- Dashboards
- Users
- Agents
- Create a Project
- Add a Step
- Add a Trigger
- Edit a Project
- Edit a Step
- Edit a Data Sync Project
- Edit a Trigger
- Edit Service
- Get Documentation
- Search
- Logs
- Change Sets
- User Settings
- Reporting
Tour of Ouvvi
The below tutorial will cover where features and functions of Ouvvi can be found. Please refer back to this page whenever you need help finding a feature or function.
Main Areas
When you first browse to you Ouvvi site after installation you will be greeted with the welcome screen. This can be customised to show any text you wish by clicking Edit, for example you may prefer to have the contact details of the main administrator and a brief summary of what you are trying to achieve with the projects in this.

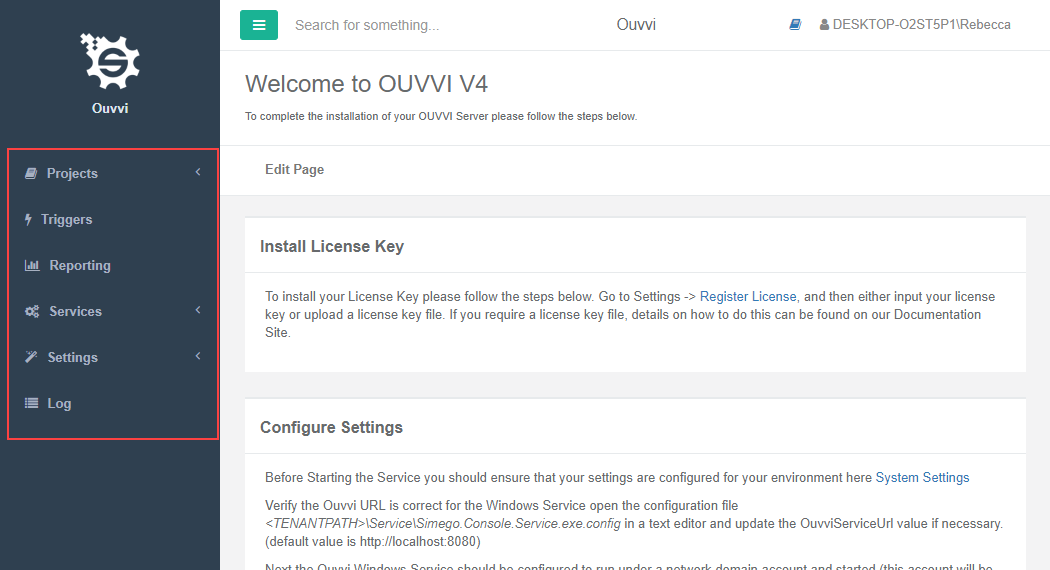
The main menu can be found to the left of the screen, this can be minimised using the green menu button at the top of the screen. This menu contains the link to any projects/dashboards/groups that you make and the main settings of Ouvvi.
At the top right hand side of the screen you will find a shortcut to create a New Ouvvi Project, and the name of the user currently logged in.

At the bottom of the page you can find the version number of Ouvvi that you are currently running.
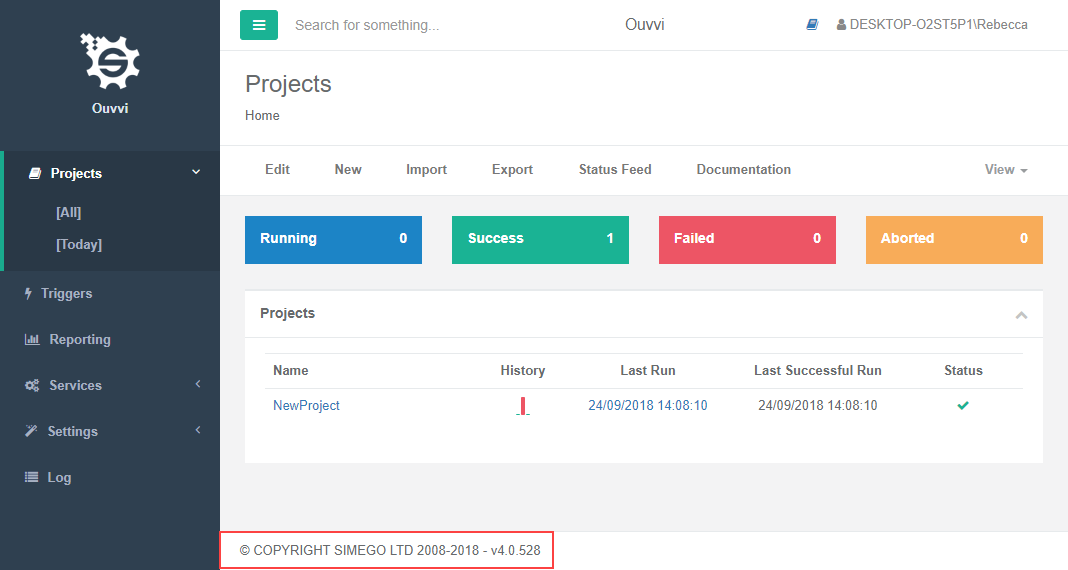
This can also be found in the Deployment Manager. If these two numbers do not match then your Ouvvi instance can be updated to a newer version.

Main Menu Options
Projects
The projects section of the menu will hold all of the groups you create to store your projects in. By default you will have the groups All and Today which will show you all projects and the projects that have been run today.
The more groups you add the longer this section will become.
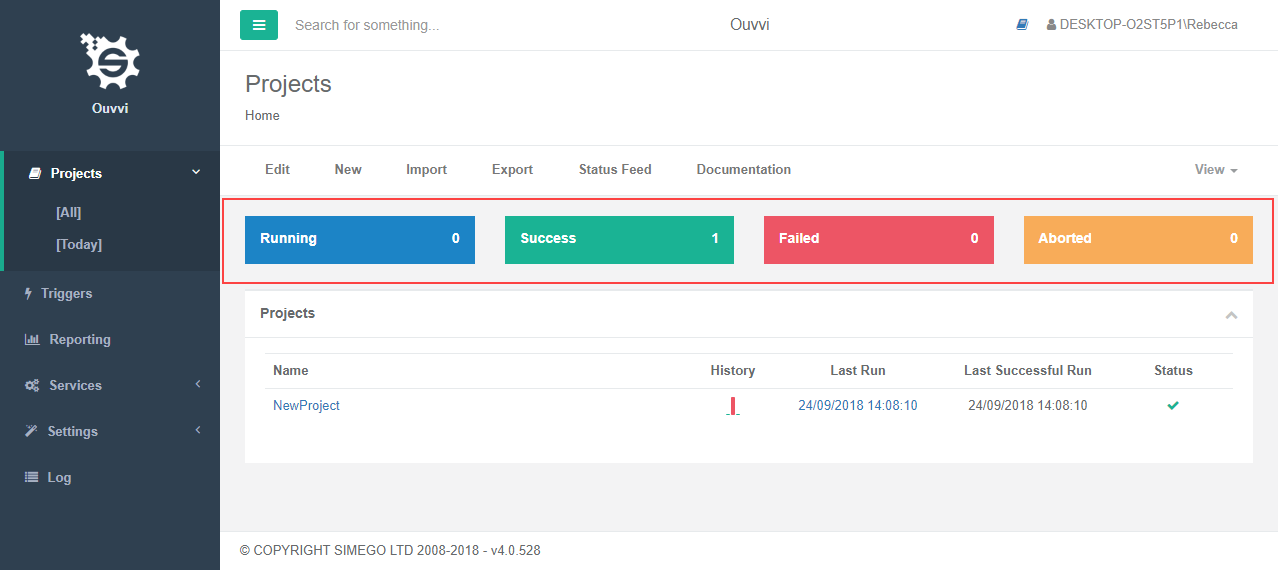
When you click into a project group you will see a total at the top of the page showing you how may projects in that group have either successfully run, are currently running, failed or have been aborted.
Triggers
The triggers section will show you all of your triggers and will also split out your enabled and disabled triggers.

You can also create, edit and remove triggers from this section.
Reporting
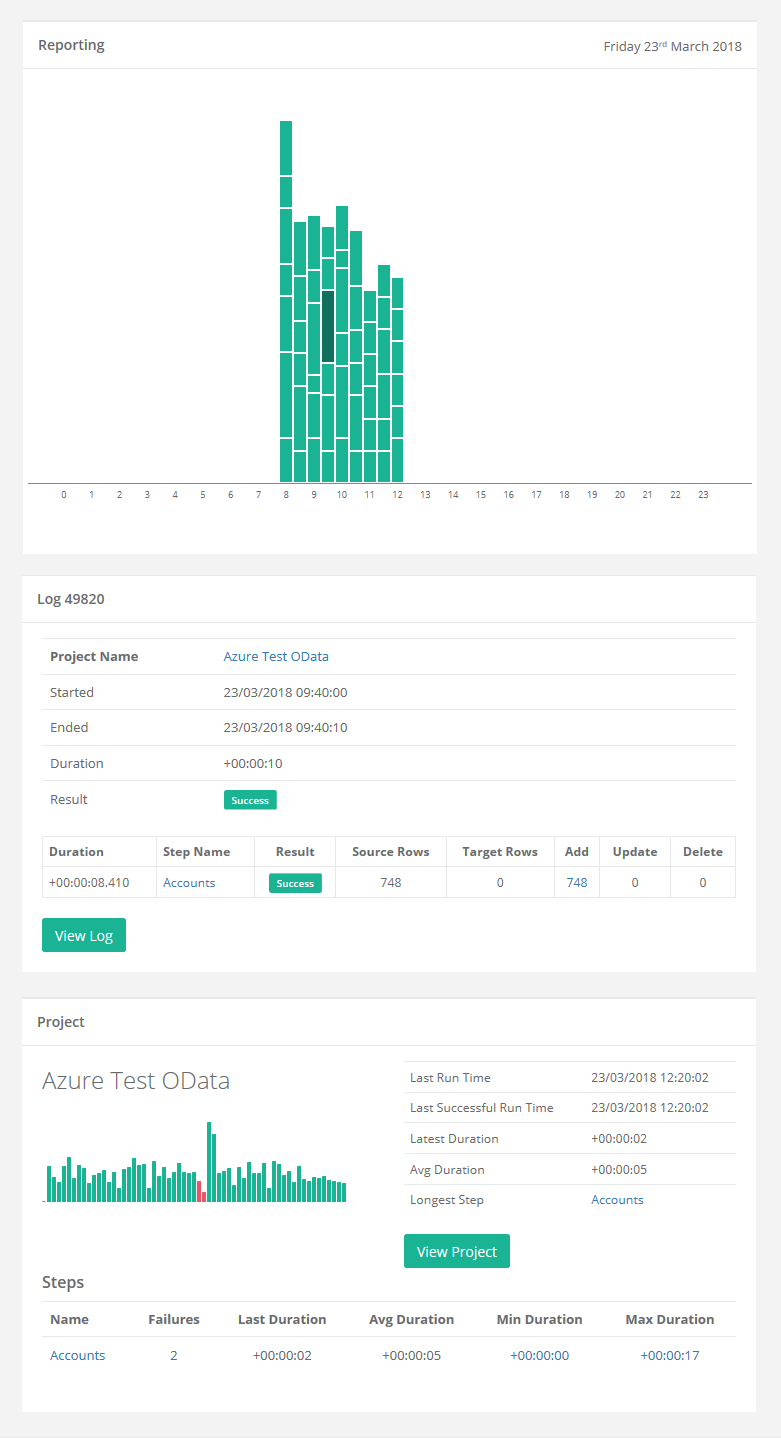
The reporting section will show you visual results of how all of your tasks are running on a day by day basis.
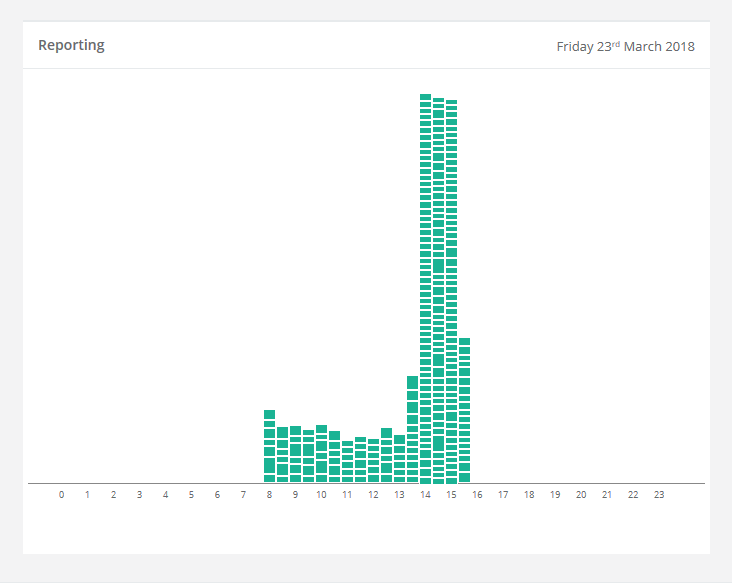
These blocks are colour coded with the following meanings:
- Green : Success
- Amber : Aborted
- Red : Failure
- Blue : Running
Clicking on a segment on the graph will show you more details about the specific project and step that is either running, completed or failed.
Services
System Services
This section holds all of your Service Agents, these are required to be running in order for you to make full use of your Ouvvi system.
Queue Table
This section will show the list of tasks currently in the queue waiting to be executed.
Queue Failures
This section will show any queue failures, allowing you to action these as required.
Settings
System Settings
Use this section to edit your system settings. Such as default time and date settings, the name of you system, the colour scheme of the UI, Timeout settings, Log settings, global change set settings and OAuth settings.
User Settings
Use this section to manage your user defined settings.
User Profiles
Use this section to manage your users. Add new users, edit existing users and delete any users that no longer require access.
Connection Library
Use this section to manage your stored connections. Add new connections to your connection library, edit existing saved connections and remove any unwanted connections from your system.
Project Groups
Use this section to manage your project groups. You can create new groups, edit existing groups and delete any groups you no longer require.
Dashboards
Use this section to manage your dashboards. You can create new dashboards, edit existing dashboards and delete any dashboards you no longer require.
Assemblies
Will show any assemblies you have created. Use this section to manage these as you need, either create, update or delete.
Handlers
Will show a list of event handlers that can be called by your Ouvvi system.
Register License
Use this to register you license key when you first start using Ouvvi. If you do not register your license key then your projects will not run.
Log
The Log section will show you the system log, letting you see if there have been any errors that need resolving.
Navigation Menu
When you click into projects, steps, and most pages within Ouvvi a navigation menu will appear below the header of the page.

Use this to do things like edit, copy, view version history, generate documentation etc. You can also change the view of grouped items between a list view and a card view.
