- Tour of Ouvvi
- Installing Ouvvi
- Deploy a New Tenant
- Create a Connection Library
- Using the Connection Library
- Edit the Connection Library
- Groups
- Dashboards
- Users
- Agents
- Create a Project
- Add a Step
- Add a Trigger
- Edit a Project
- Edit a Step
- Edit a Data Sync Project
- Edit a Trigger
- Edit Service
- Get Documentation
- Search
- Logs
- Change Sets
- User Settings
- Reporting
Dashboards
The below tutorial will cover what dashboards are, how to create them and how to use, edit and delete them.
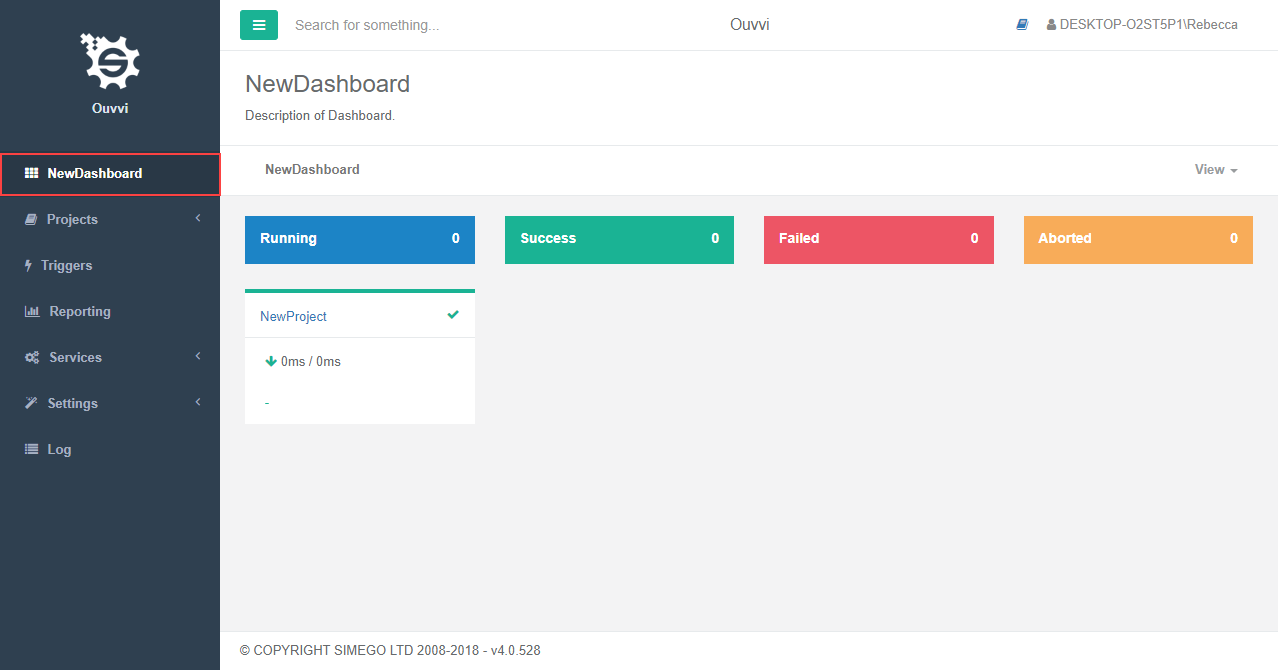
Dashboards are a way of collecting projects of importance together to see at a quick glance their status and how they are running. In the card view you can see the status, run time and the amount of data that was affected during the last run all at a quick glance. The status is colour coded and grouped at the top of the page with blue being it is currently running, green being that the project last run was successful, red being that the project last run failed and amber being that the project was aborted/cancelled.
They are a great tool to create a monitoring system of the various systems you might be running and trying to maintain. E.g. SQL Servers, Azure & Websites.
Once a dashboard has been created you will be able to view them from the main menu under the dashboard dropdown.
Create a Dashboard
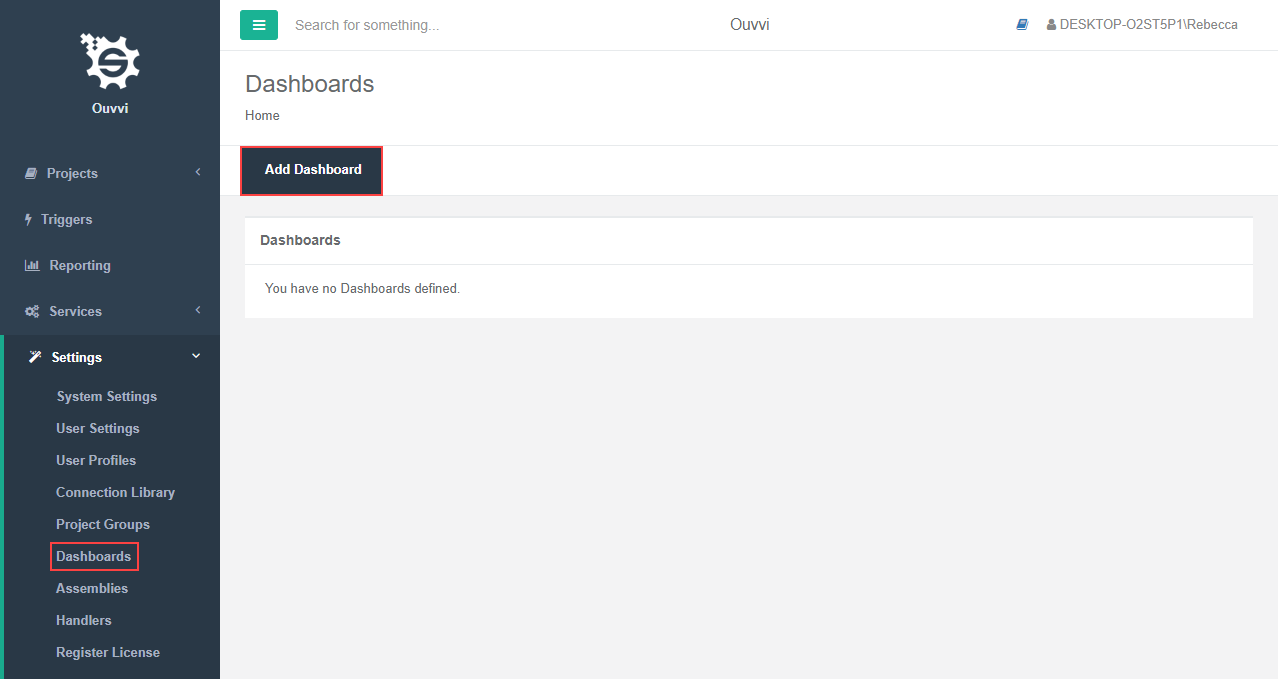
To create a new dashboard go to Settings > Dashboards > Add Dashboard.
Enter in a name and description and choose the default view you would like this dashboard to have, either card or list view, and then press Save.
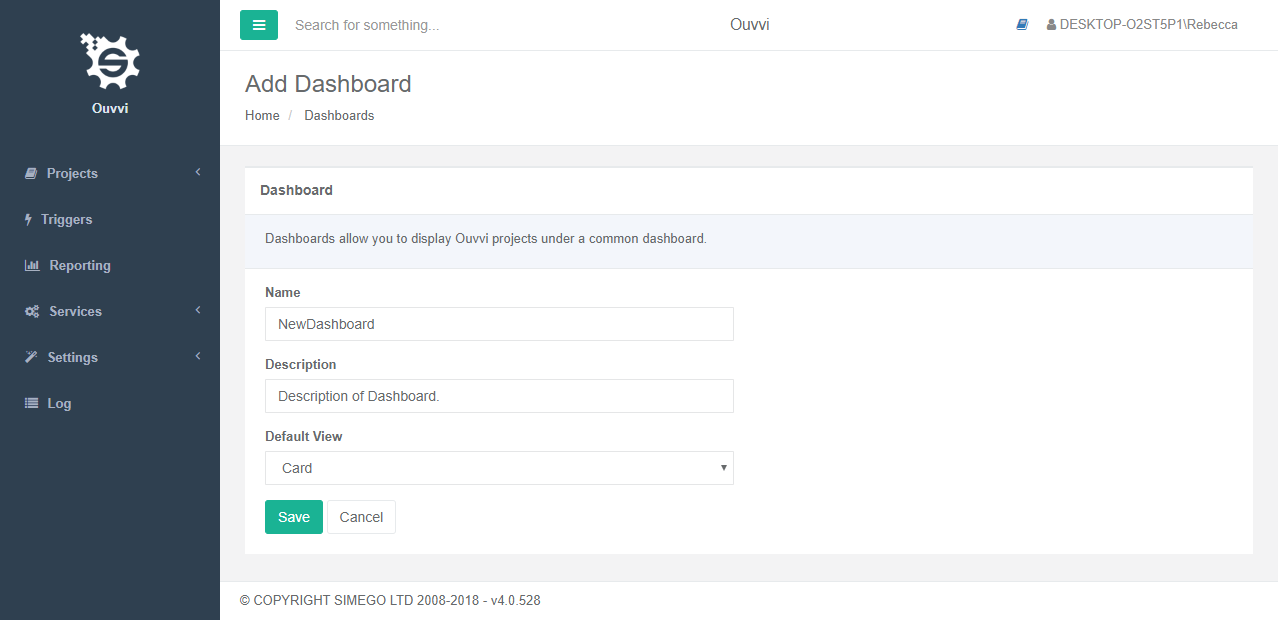
The dashboard is now created and ready to have projects added to it.
Adding Projects to a Dashboard
To add a project to the dashboard you have just created go to the project you wish to add and choose Edit from the navigation menu.
In the edit screen you will find an option titled Dashboard, select your dashboard from the drop down list and press Save.
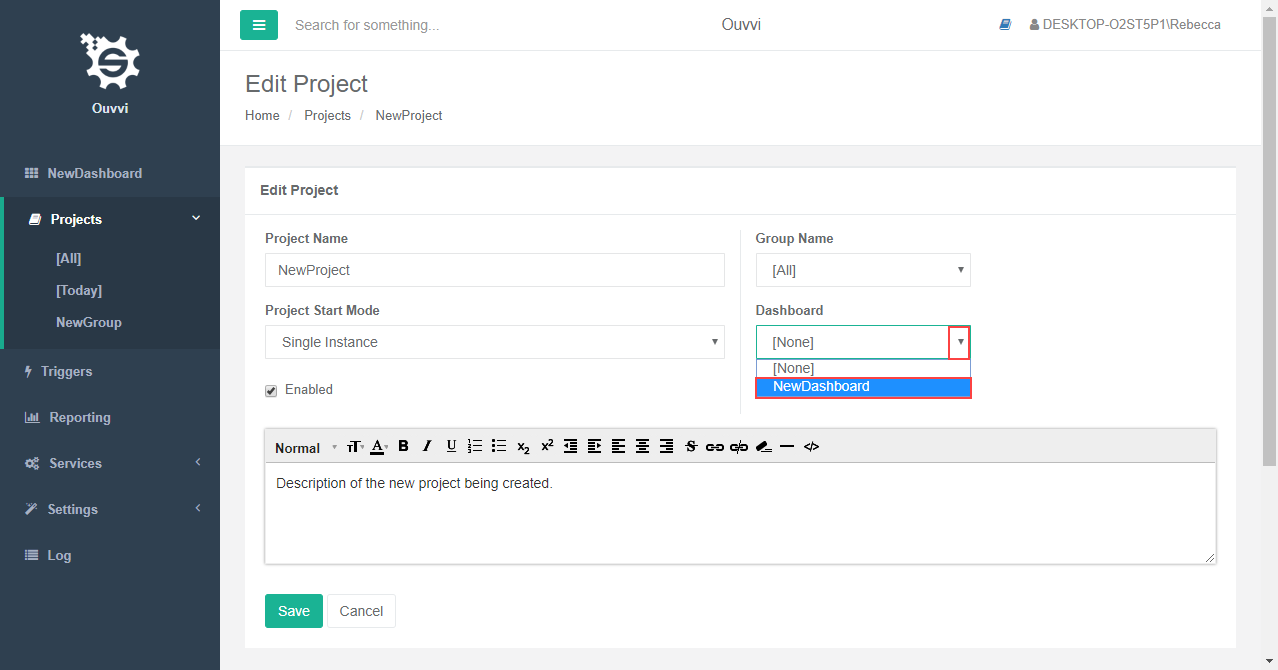
Your project will now be available to view in your dashboard.
Edit a Dashboard
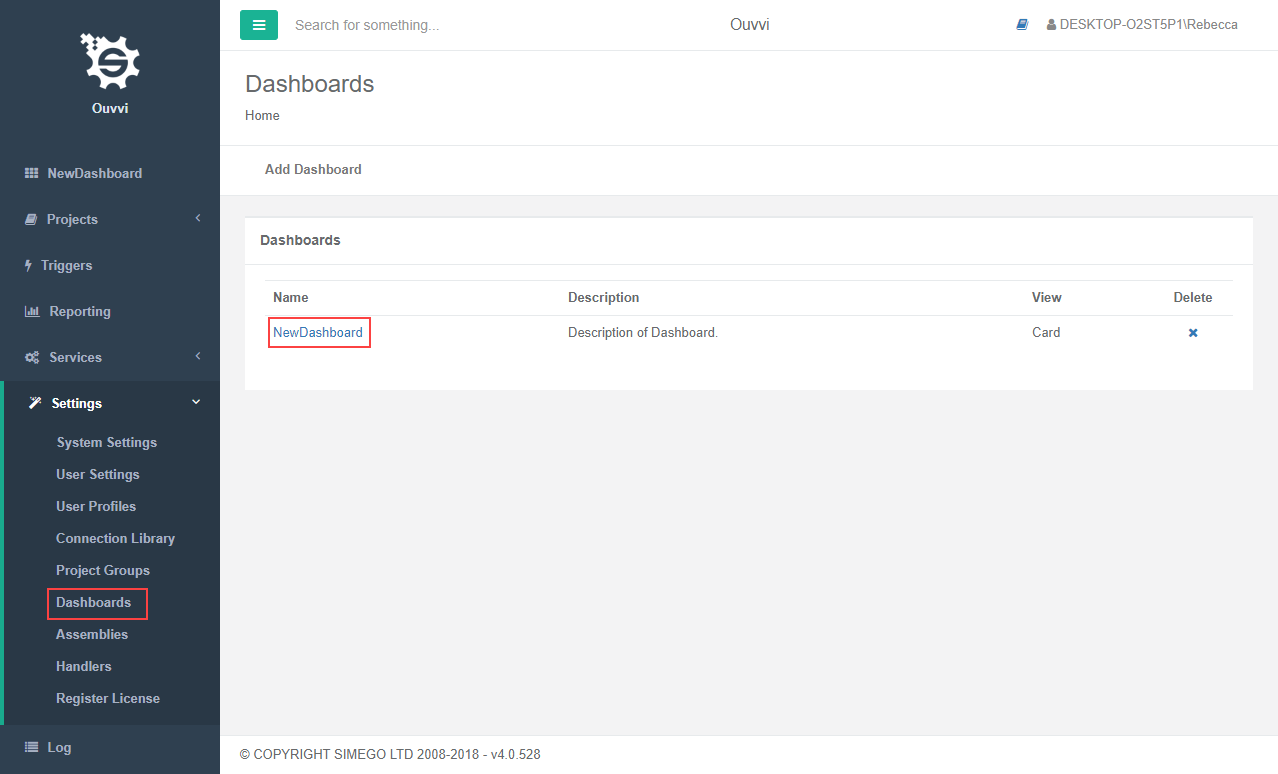
To edit a dashboard go to Settings>Dashboards and click on the name of the dashboard you wish to edit.
Make any changes you wish to make and then press Save.
Delete a Dashboard
To delete a dashboard go to Settings > Dashboards and click the x next to the dashboard you wish to delete.
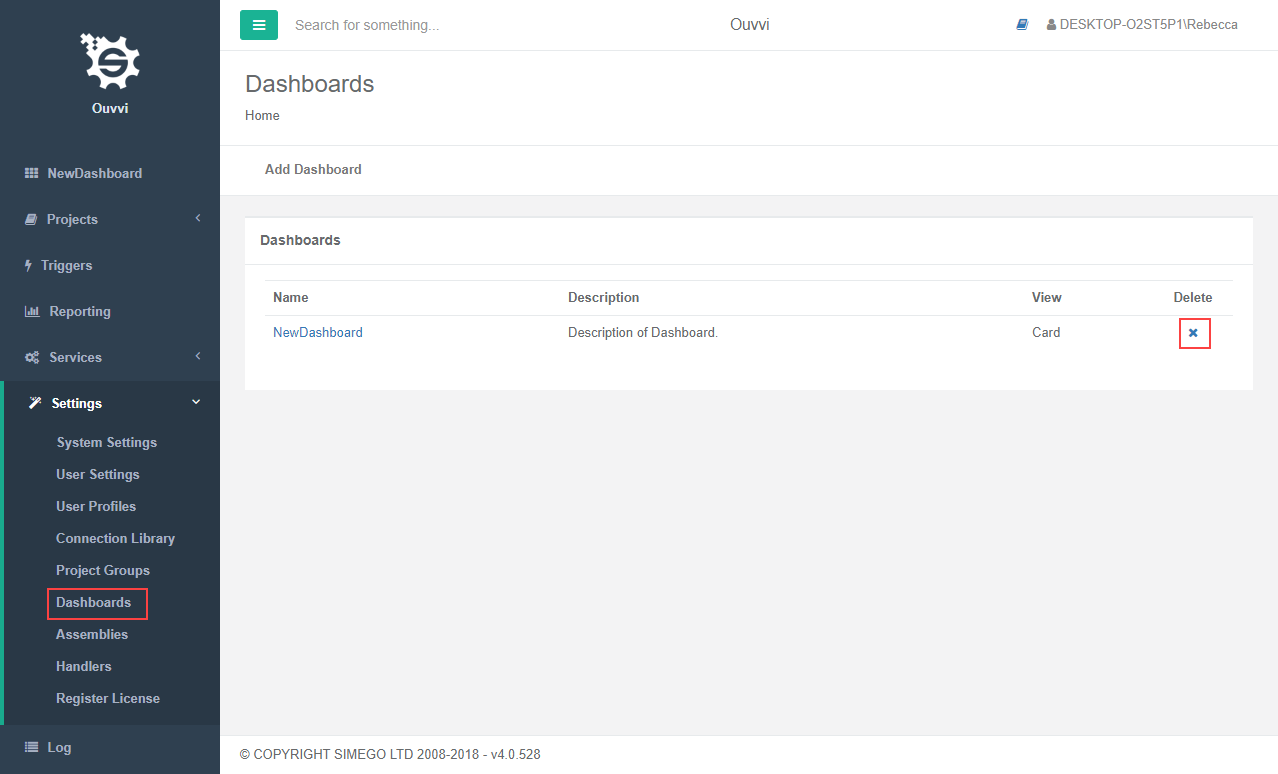
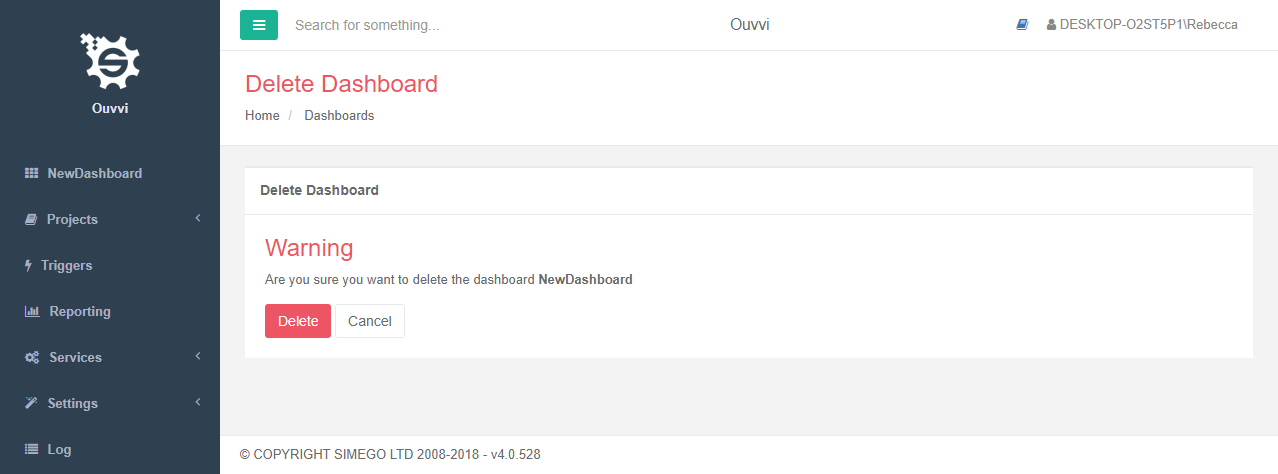
You will then be asked to confirm your deletion. If you are certain then click Delete.
