Projects
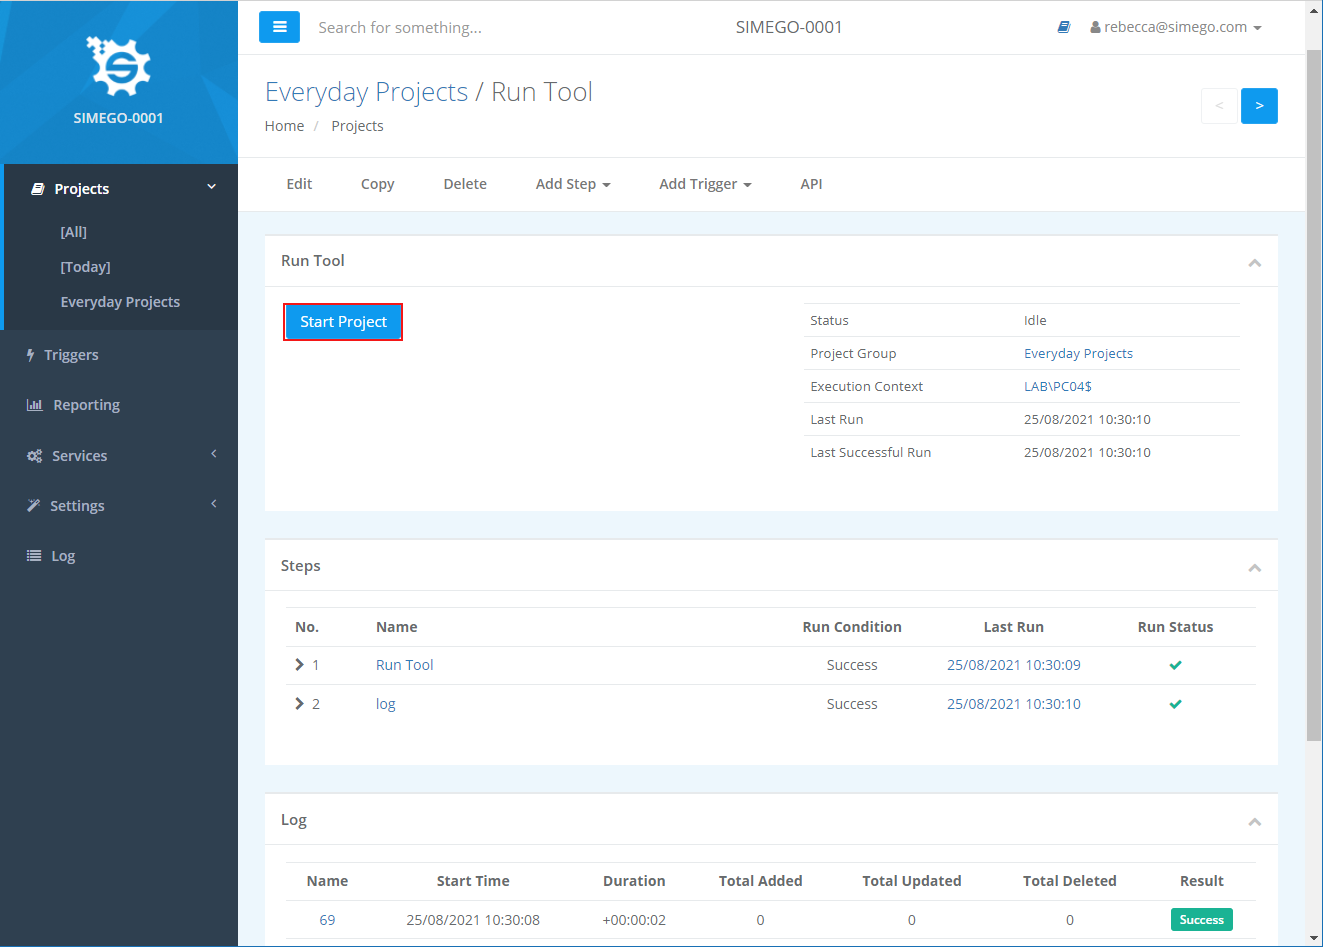
Projects in Simego Online are a container for tasks (steps) that run in a sequence as each step completes it moves on to the next. The Run Condition provides flow control where a Step will only run if the Running Status equals the Run Condition. This flow control prevents running steps when the previous step returns an error by setting the Run Condition to Success
Each Step is of a particular task type this might be a Data Sync task, a file copy task an API call etc.
Each step can be configured to automatically re-try this solves most temporary errors where an external service may be unavailable or recovering from a failure.
The Project also contains the Log details for each run of the project so you can navigate the history to inspect the log data for each run of the project.
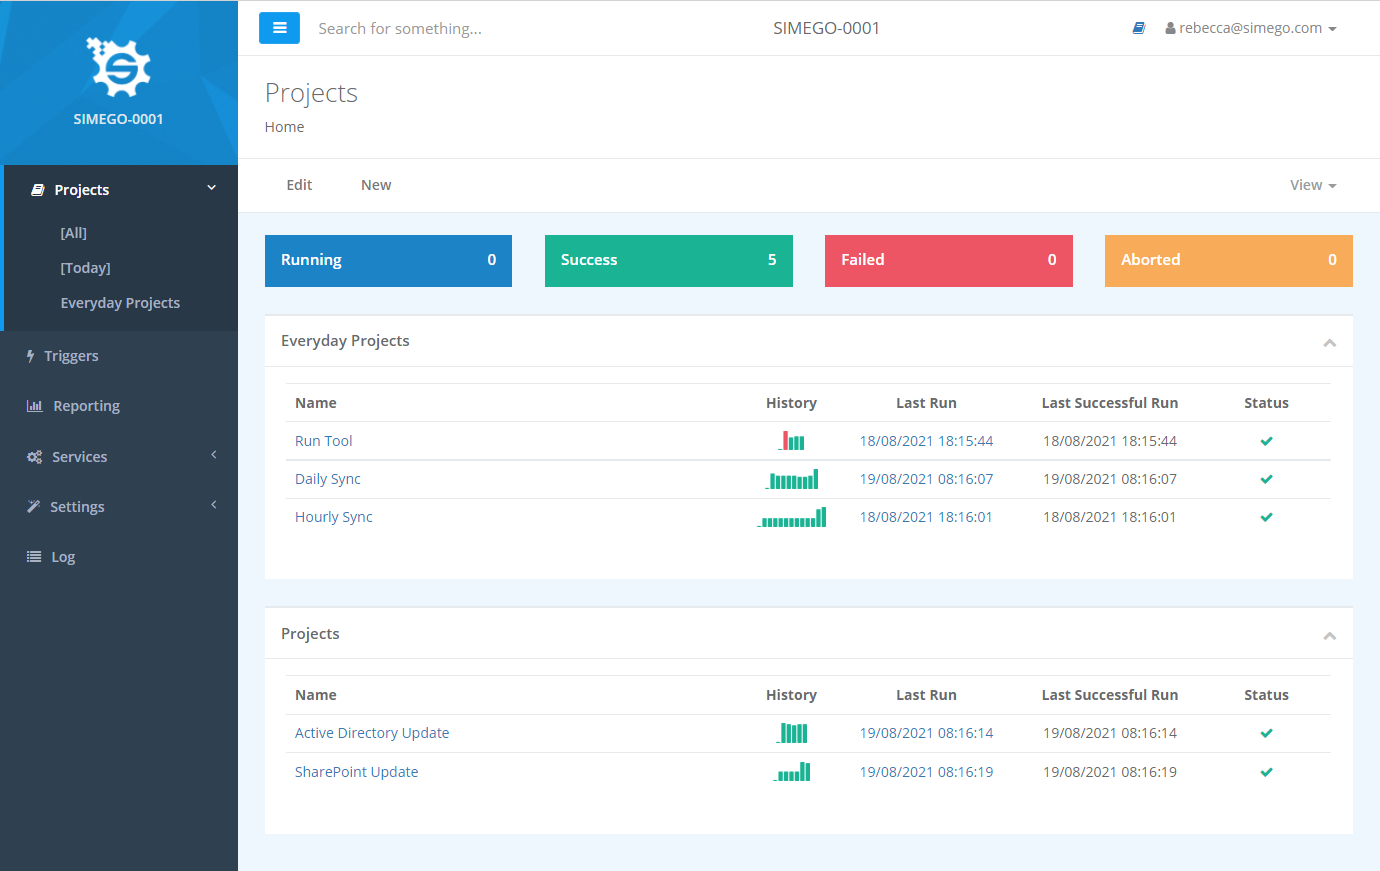
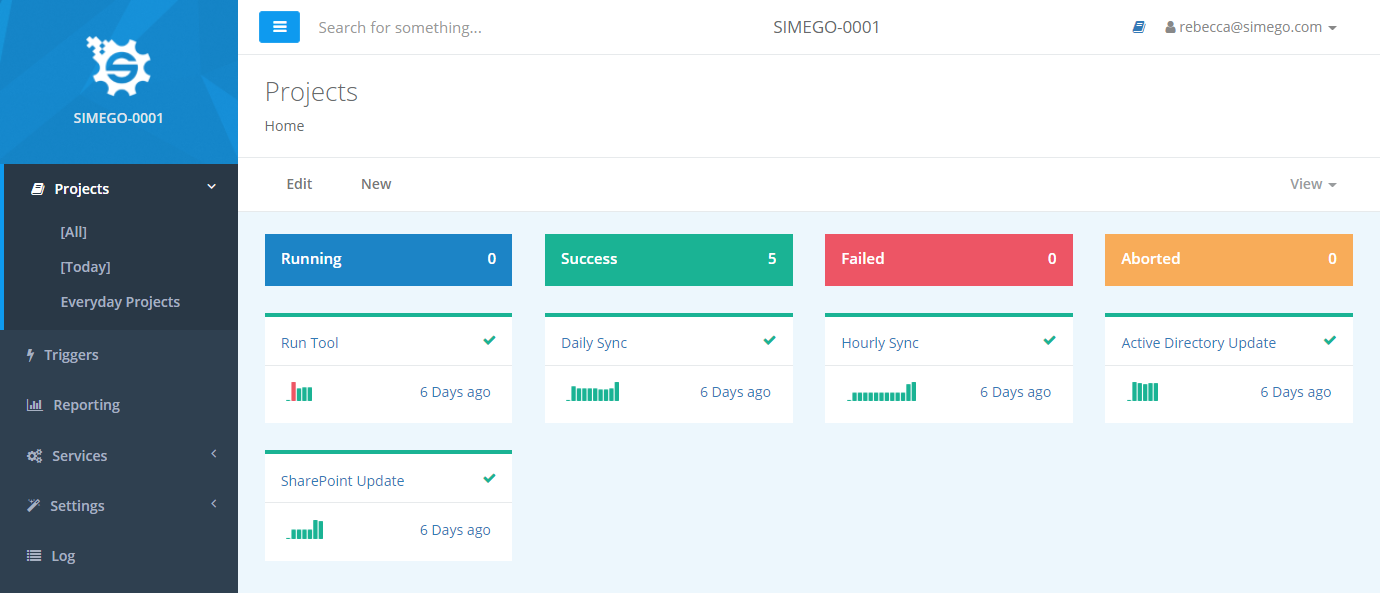
Change the Layout
The Project page layout can be changed between a List view and a Card View by using the drop down menu at the right of the navigation panel.

List View
The list view will show the Project Groups first and then any un-grouped projects are shown in a list at the bottom of the page.

Card View
The Card View will show all projects as separate cards, these are colour coded to show the status of the project at a quick glance. The projects can be filtered into their user defined groups by using the main navigation to the left of the screen.

Create New Project
To create a new Simego Online project either click on the New button in the Projects page view or he book icon at the top right of the page.

You then need to give your project a Name and click Save
Properties to Define
| Property | Value |
|---|---|
| Name | Name of your Project. |
| Group Name (optional) | Group to assign project to. |
| Project Start Mode | Single Instance - only one instance of the project active at any one time, this is the default. Normal - Multiple instances can run in parallel. |
| Description | A description about the project recommended so that you remember what the project is for and helps with documentation. |
Start Project
If the Service is installed and running you can manually start the project by clicking the Start Project button. This button is disabled if the project is already running or when the Ouvvi Service is not running.

Schedule
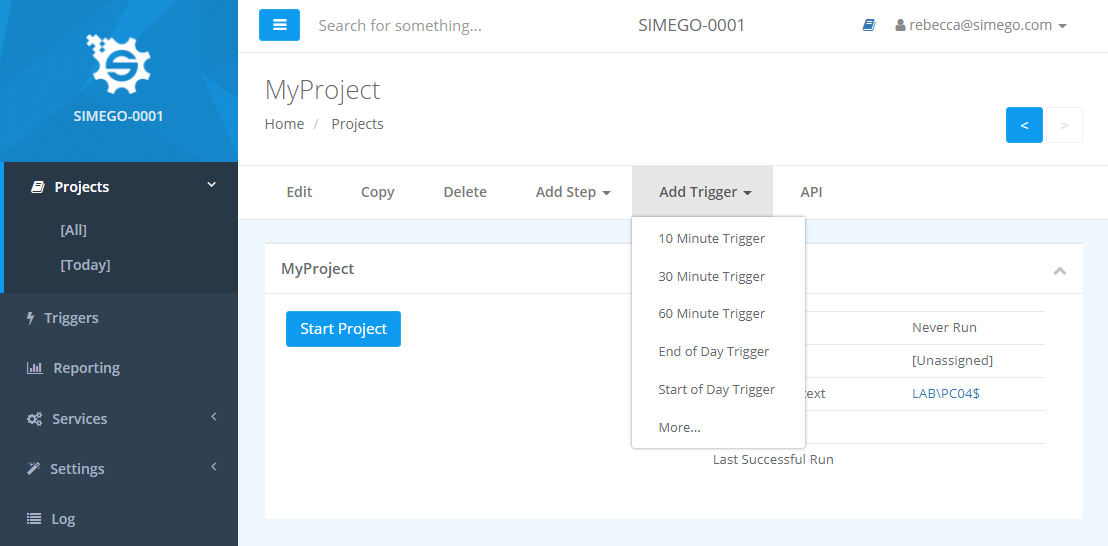
To run the project on a schedule you need to add a trigger. To do this click onto Add Trigger and select the trigger you need.
If there is no suitable trigger currently available, you can create a new Trigger by clicking on More....

Triggers can be reused across projects and each project assigned will be started when the trigger runs. Adding multiple triggers like 10,30 and 60 minute triggers will only trigger the project once on the trigger interval.
