Grouping Projects
Projects in Simego Online can be grouped into user defined groups. This can be used to make navigation and management of your system simpler.
Creating a New Group
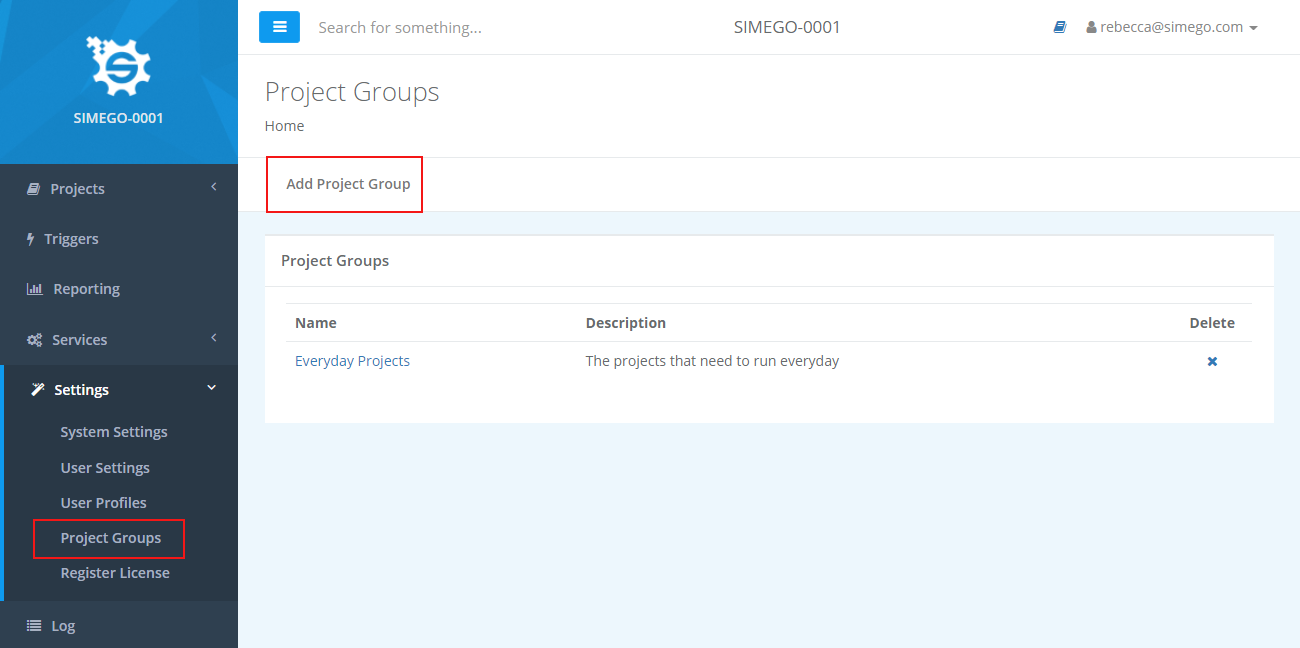
Under settings go to Project Groups and select Add Project Group.
Enter in a name and description for the group and press Save.
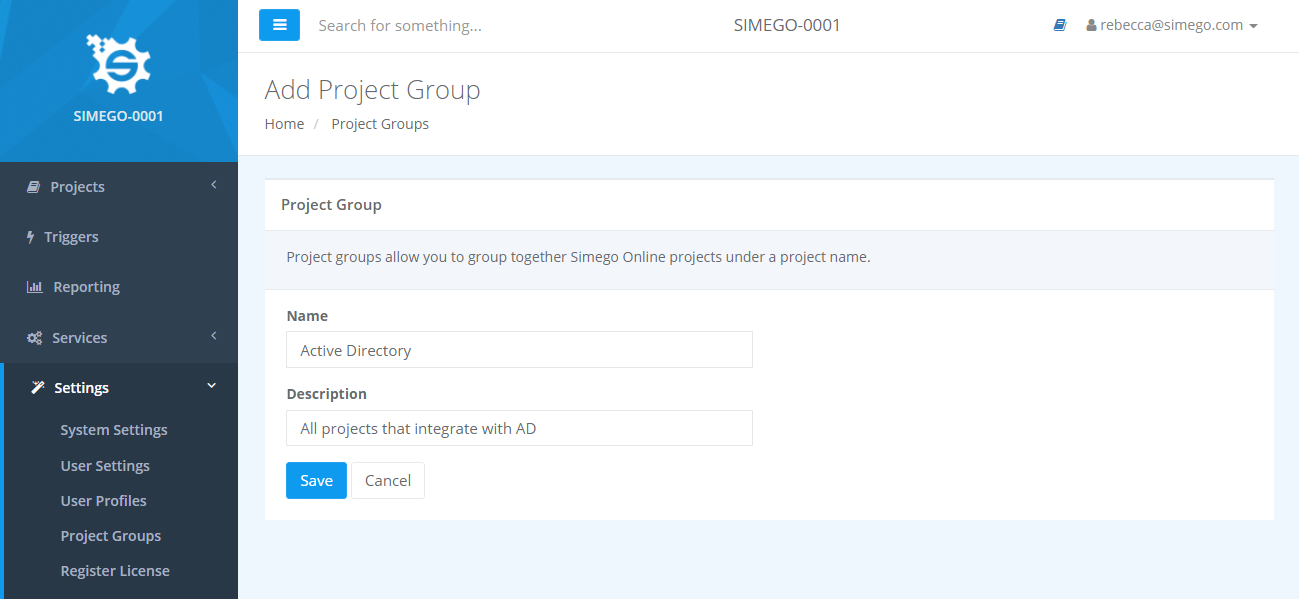
This group is now ready to have projects added to it.
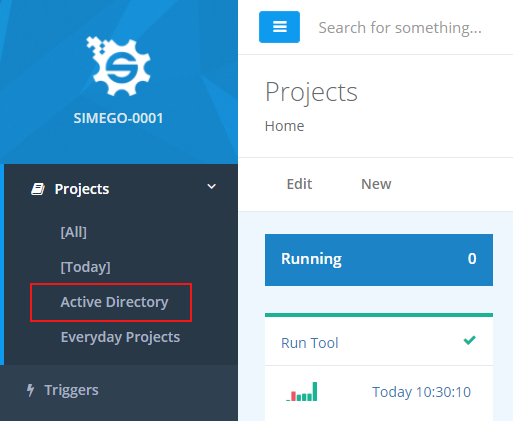
This group will also appear in the side menu under Projects for quick navigation.
Adding a Project to a Group
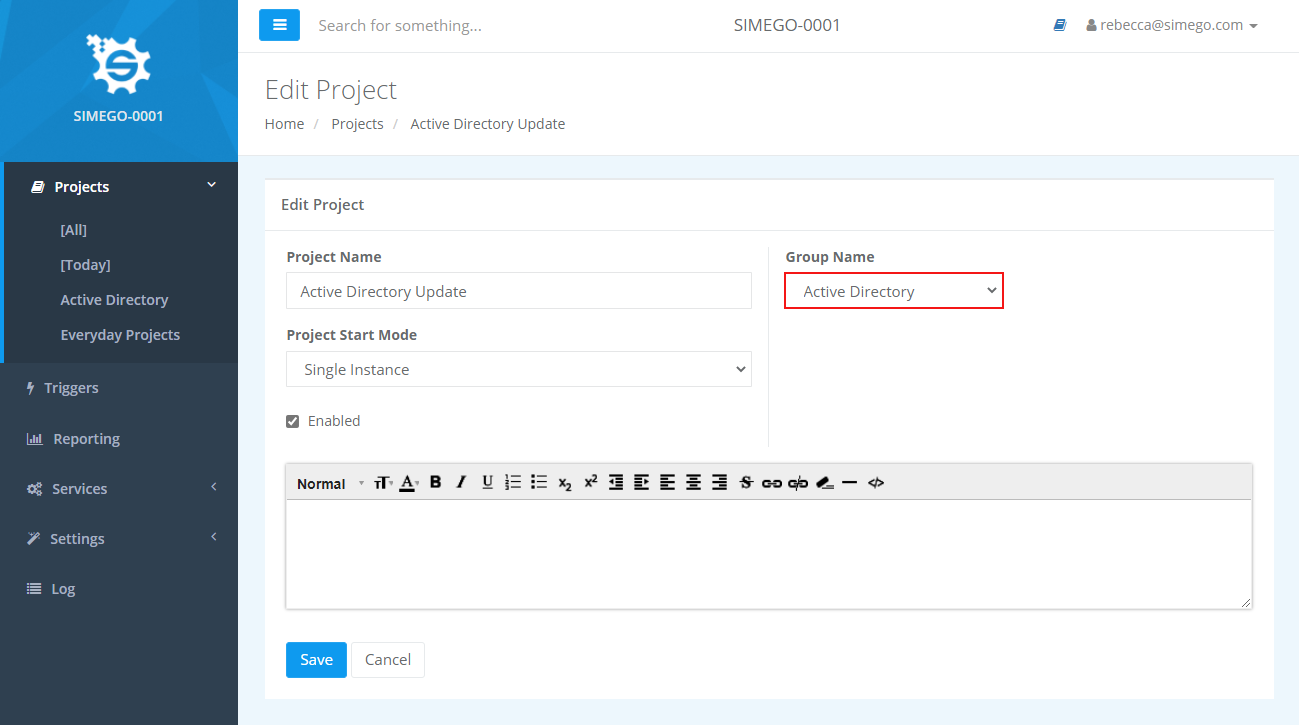
To add a project to a group open your project in Simego Online and select Edit from navigation menu.
In the edit screen there is an field titled Group Name, select the group you need from the drop down list.
Once you are finished press save and your project will now be available under the specified group.
Deleting a Group
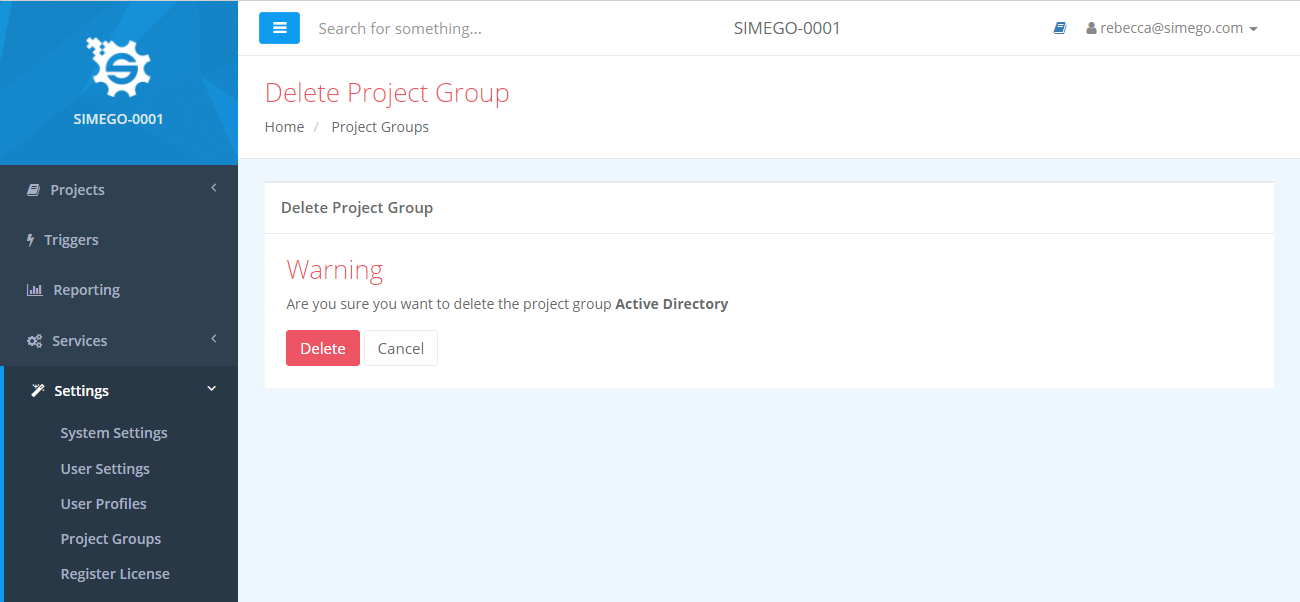
To delete a group go to Settings > Project Groupsand click the x next to the group you wish to delete.
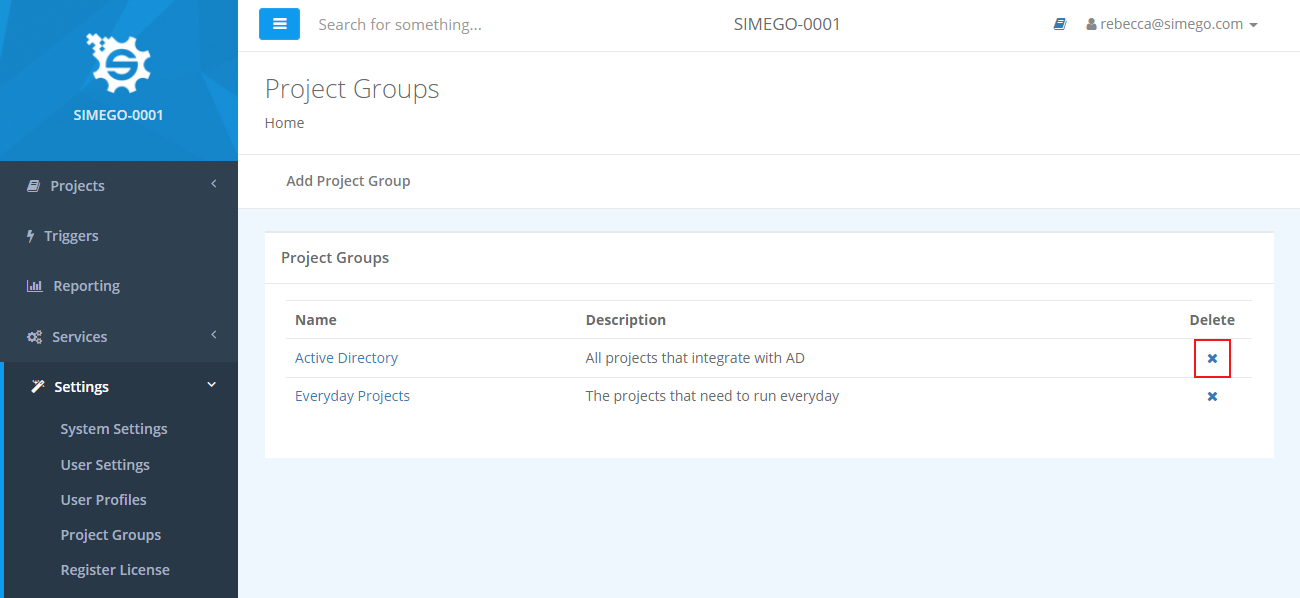
A confirmation message will appear, if you are certain you wish to delete then press Delete.
