- Add AD Users to SharePoint
- Export SharePoint Lists to SQL Tables
- Import Documents to SQL Table
- Setting Content Types
- Bulk Upload Documents
- Multi-Value/Lookup Columns
- Import Emails to Lists
- Import Files to Document Library
- Import SQL to SharePoint
- Two Way Synchronisation
- List Data replication
- Sync Folders with the File System
- Sync Documents and Metadata
Export SharePoint Lists to SQL Tables
To get data out of your SharePoint site into a SQL table you can use Data Sync to make the process as simple as possible.
Data Sync has a built in function to create a new SQL table based off the columns in your schema map or alternatively you can connect to an existing SQL table.
The following video covers how to export data from a SharePoint list into a new SQL table using Data Sync.
Connect to SharePoint (Source)
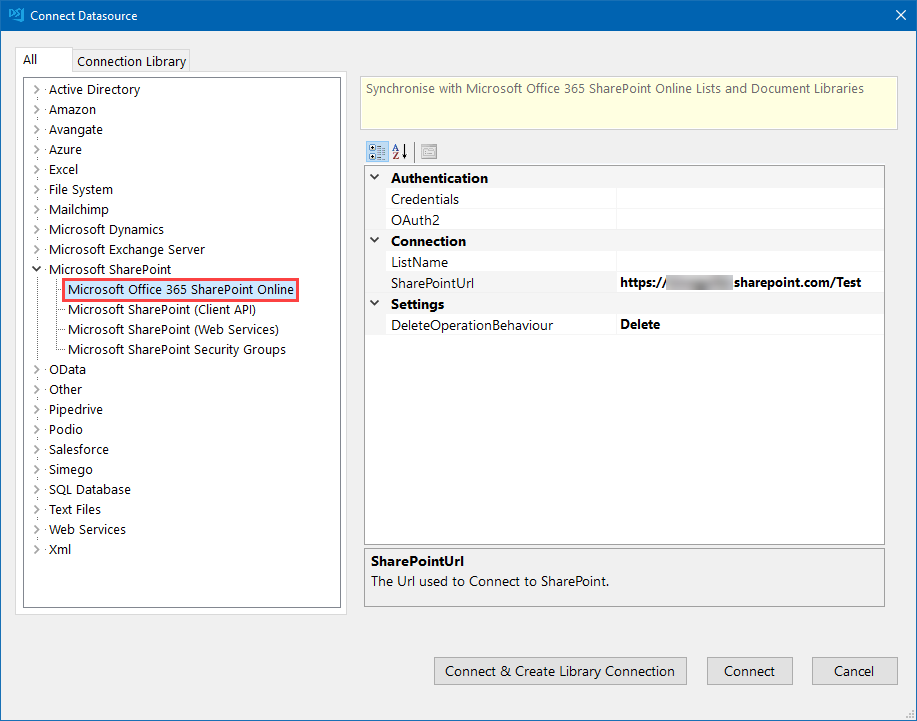
To get started open Data Sync and connect Data Source A to SharePoint. Our full documentation on the many ways you can connect can be found here
Configure the Schema
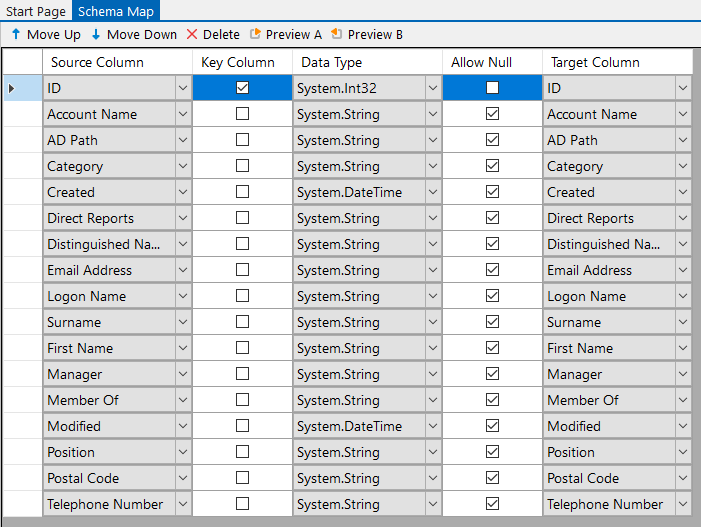
Add the columns you want to sync to your schema map and make sure to select a key column that is unique and can be used to identify each record. This can be a composite key made up of two columns if you do not have a column suitable.
Create a new SQL Table
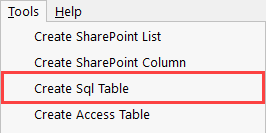
Now that you have the columns you want to include in the sync added to the schema map, we can create a new SQL table by going to Tools> Create SQL Table.
Now follow through the wizard to connect to your SQL database and then type in a name for your new table.
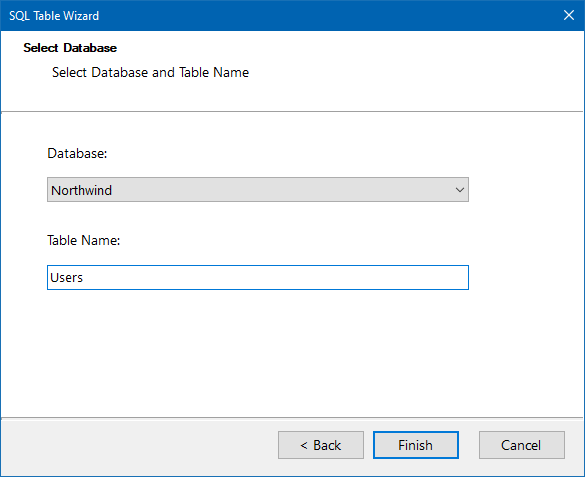
Your table will now be created with the columns included in the schema map.
To export the data to an existing SQL table simply connect to your table and then map the columns to their corresponding columns in SharePoint
Compare & Synchronise
Then click the Compare A>B button in the toolbar to run the comparison.
You can preview the data to be added by clicking onto the green plus icon.
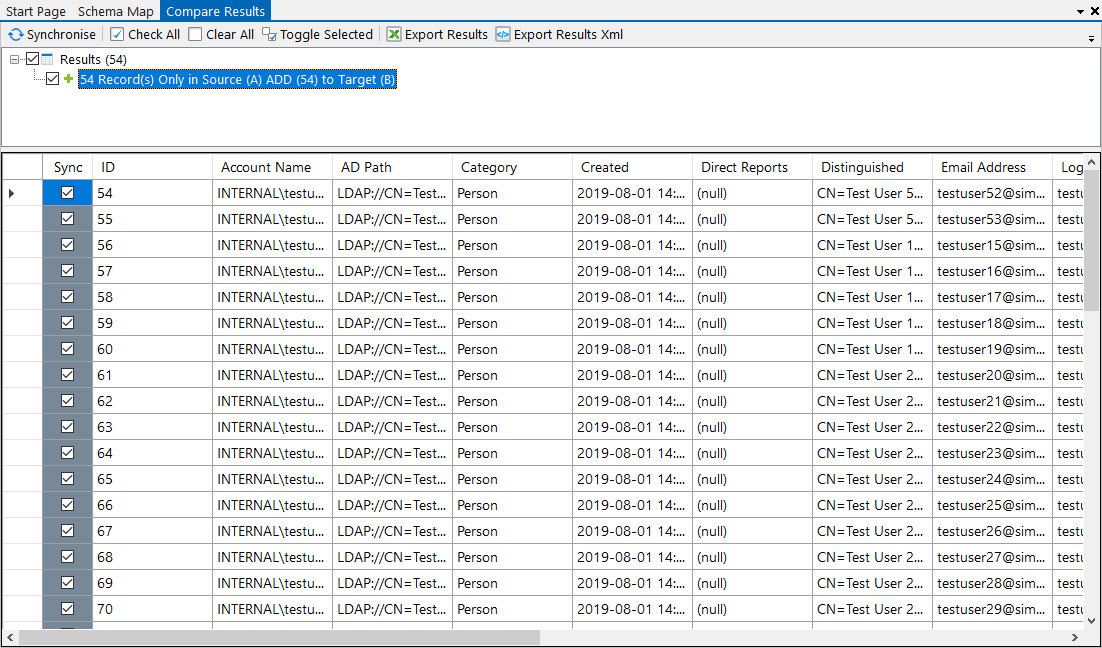
Once you are satisfied that the data is returning as it should, click Synchronise and Start to begin the sync.

Your data will now be visible in your SQL table. You can check by clicking onto the Preview button in your target window which will show you the data contained in your SQL table.
